
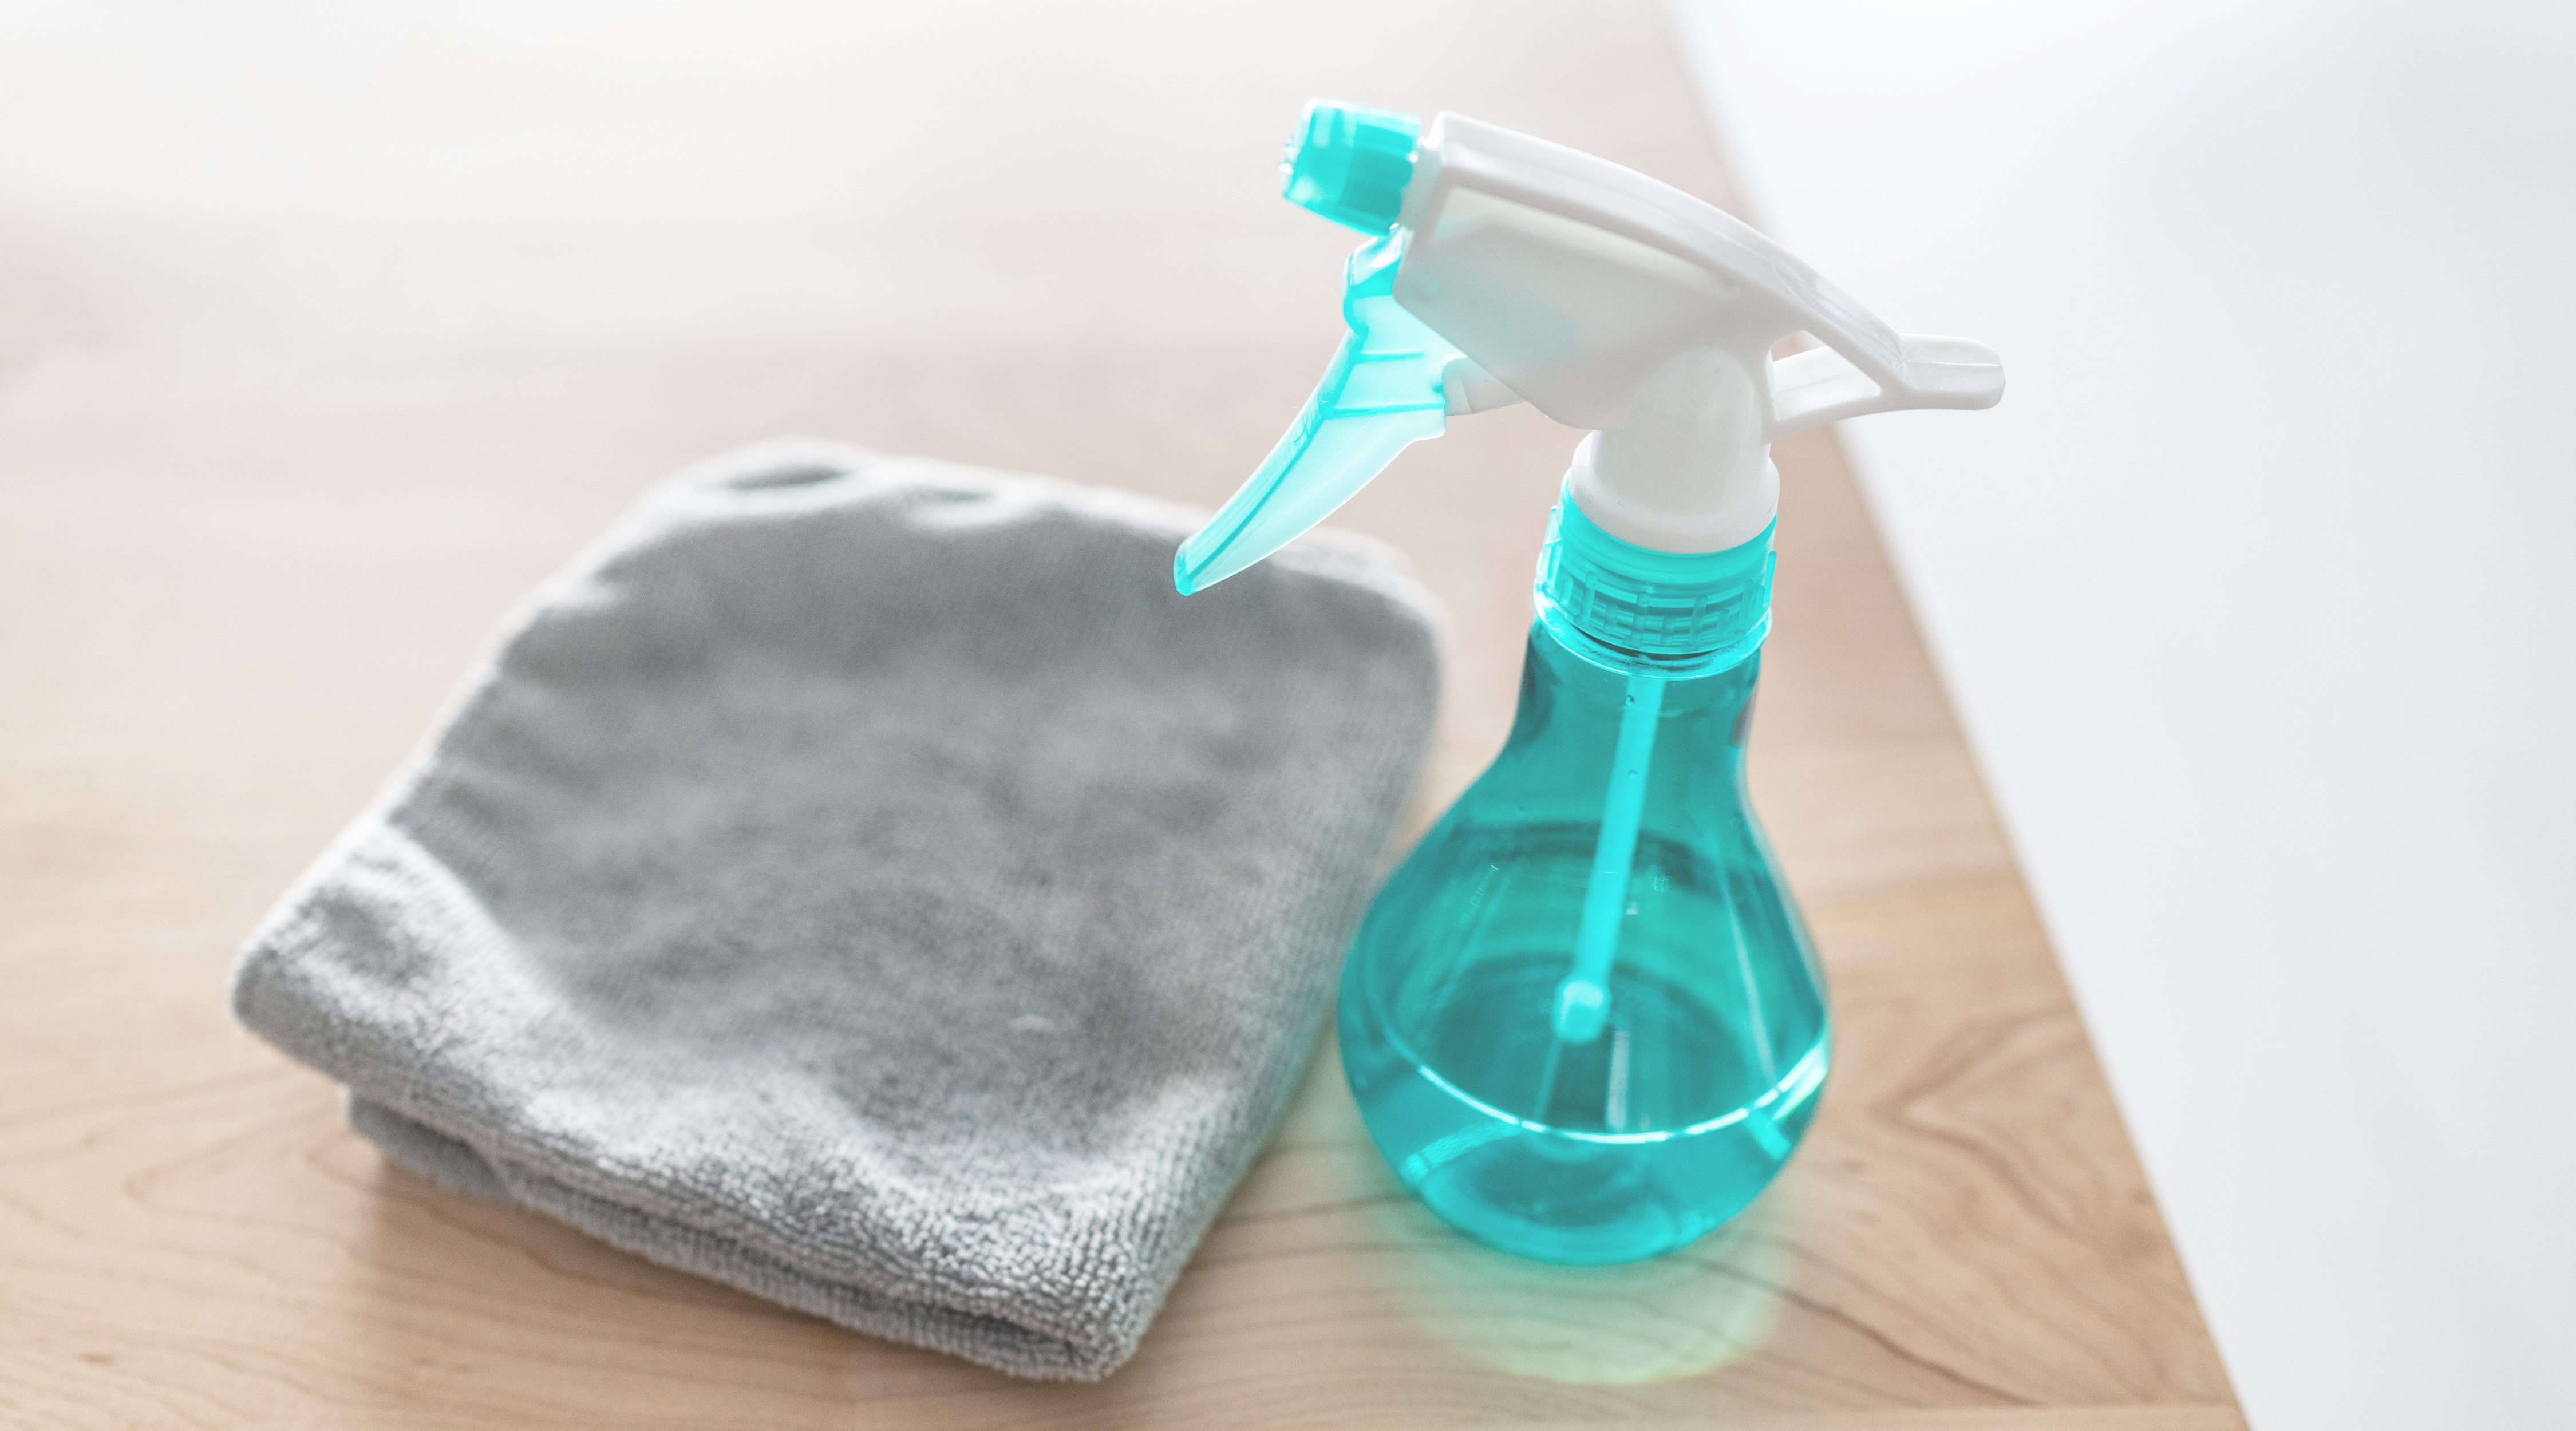
Keeping our surroundings clean and germ-free is more crucial than ever. Disinfecting surfaces is a key step in eliminating germs and reducing the risk of illness. In this ultimate guide, we will explore the benefits of using DIY disinfectant sprays for surfaces and provide you with all the information you need to create your own effective cleaning solutions. Let’s dive in and discover the power of these homemade sprays!
Understanding the Basics of Disinfectant Sprays
Disinfectant sprays are powerful tools in the fight against germs. They are specifically formulated to kill bacteria, viruses, and other microorganisms that can cause infections and diseases. These sprays work by disrupting the cell membranes or proteins of these harmful germs, rendering them inactive and unable to multiply.
DIY disinfectants offer several advantages over commercial ones. Firstly, they are cost-effective and can save you money in the long run. Secondly, you have control over the ingredients used, allowing you to tailor the spray to your specific needs. Lastly, DIY sprays are often made from common household items, making them easily accessible.
Essential Ingredients for DIY Disinfectant Sprays
Creating your own DIY disinfectant spray requires a few essential ingredients. Many of these ingredients can be found in your kitchen pantry or bathroom cabinet. Let’s take a closer look at some common household items that can be used as disinfectants:
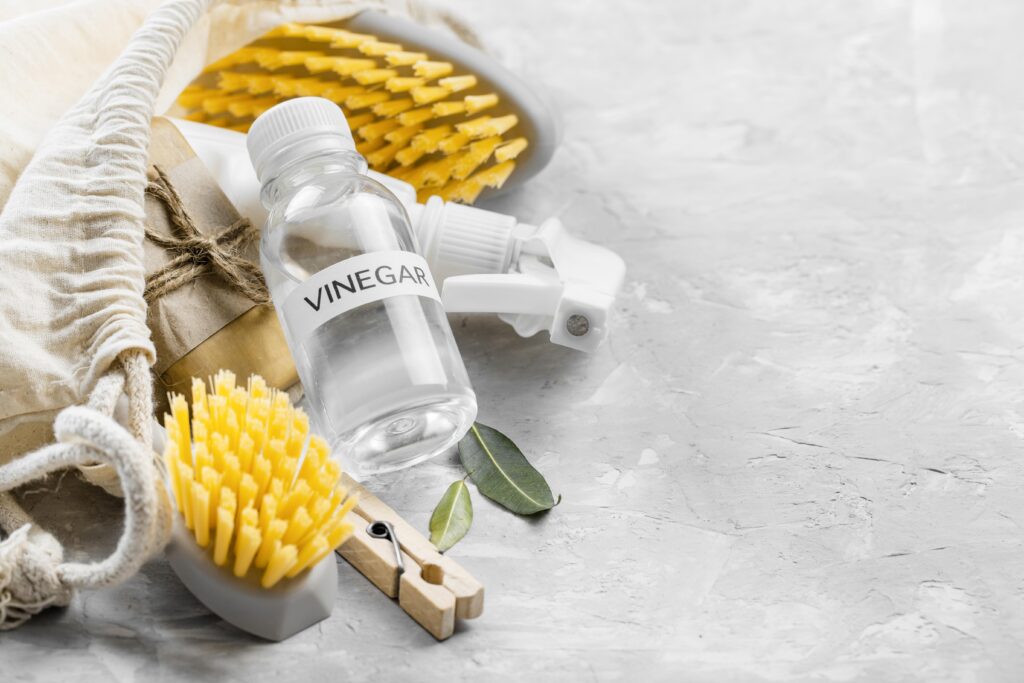
1. Vinegar: Known for its acidic properties, vinegar is effective against many types of bacteria and viruses.
2. Hydrogen Peroxide: This versatile ingredient has strong sanitizing properties and is effective against a wide range of microorganisms.
3. Rubbing Alcohol: Alcohol solutions with at least 70% alcohol content can effectively kill pathogens on surfaces.
4. Tea Tree Oil: With its natural antimicrobial properties, tea tree oil is another popular choice for DIY disinfectants.
Remember to exercise caution when using homemade disinfectant sprays. Always wear protective gloves and ensure proper ventilation in the area where you are spraying. Avoid mixing different ingredients together, as some combinations can be harmful.
Popular DIY Disinfectant Spray Recipes
Now that you understand the key ingredients, let’s explore a couple of popular DIY disinfectant spray recipes that are easy to make at home.
Recipe 1: Citrus-Infused Vinegar Spray
Ingredients needed:
– White vinegar
– Citrus peels (lemon, lime, or orange)
Step-by-step instructions:
1. Fill a glass jar halfway with citrus peels.
2. Pour white vinegar over the peels, filling the jar to the top.
3. Seal the jar tightly and let it sit for at least two weeks to allow the citrus oils to infuse into the vinegar.
4. Strain the vinegar into a spray bottle and dilute with water if desired.
5. Your citrus-infused vinegar spray is ready to use!
Tips and variations:
– Add a few drops of essential oils like lavender or eucalyptus for a pleasant fragrance.
– Experiment with different citrus peels to create unique scents.
Recipe 2: Tea Tree Oil and Alcohol Spray
Ingredients needed:
– Rubbing alcohol (at least 70% alcohol content)
– Distilled water or tap water that has been boiled and cooled
– Tea tree oil
Step-by-step instructions:
1. In a spray bottle, combine one cup of rubbing alcohol with one cup of distilled water.
2. Add 10-15 drops of tea tree oil to the mixture.
3. Shake well to ensure all ingredients are thoroughly blended.
4. Your tea tree oil and alcohol spray is ready to use!
Tips and variations:
– Substitute tea tree oil with other essential oils like peppermint or lemon for different scents.
– Adjust the amount of tea tree oil based on your preference.
Effective Application Techniques
To ensure maximum effectiveness of your DIY disinfectant sprays, it is important to follow proper application techniques. Here are a few tips to keep in mind:
1. Prepare the Surface: Remove any visible dirt or debris from the surface before applying the disinfectant spray. This allows the spray to make direct contact with the germs.
2. Correct Spraying Technique: Hold the spray bottle about 6-8 inches away from the surface and spray evenly. Avoid oversaturating the area, as this can dilute the disinfecting properties of the spray.
3. Target High-Touch Areas: Pay special attention to high-touch areas, such as doorknobs, light switches, countertops, and cell phones. These surfaces tend to harbor more germs and should be disinfected frequently.
Additional Tips for Efficient Disinfection
In addition to DIY disinfectants, there are a few other tips to keep in mind for efficient disinfection:
1. Storage and Shelf-Life: Store your DIY disinfectant sprays in a cool, dark place to maintain their effectiveness. Most homemade sprays have a shelf-life of about 1-3 months, so make sure to label and date your bottles.
2. Regular Cleaning Routines: Incorporate regular cleaning routines into your daily or weekly schedule to maintain a germ-free environment. Regularly disinfect frequently touched surfaces, wash your hands regularly, and encourage good hygiene practices among family members.
3. Disposal Guidelines: Dispose of unused or expired DIY disinfectants responsibly. Follow local regulations for proper disposal methods or consult the guidelines provided by your municipality.
Conclusion
By following this comprehensive guide to DIY disinfectant sprays for surfaces, you now have the knowledge and skills to create effective cleaning solutions that eliminate germs. The benefits of using these homemade sprays are numerous, from cost savings to customizable ingredients. Take control of your cleaning routine today and say goodbye to germs! Let’s work together to maintain clean and healthy environments for ourselves and our loved ones.

